
How to Lay Outdoor Porcelain Tiles: Step-by-Step Guide for a Perfect Patio
Updated on

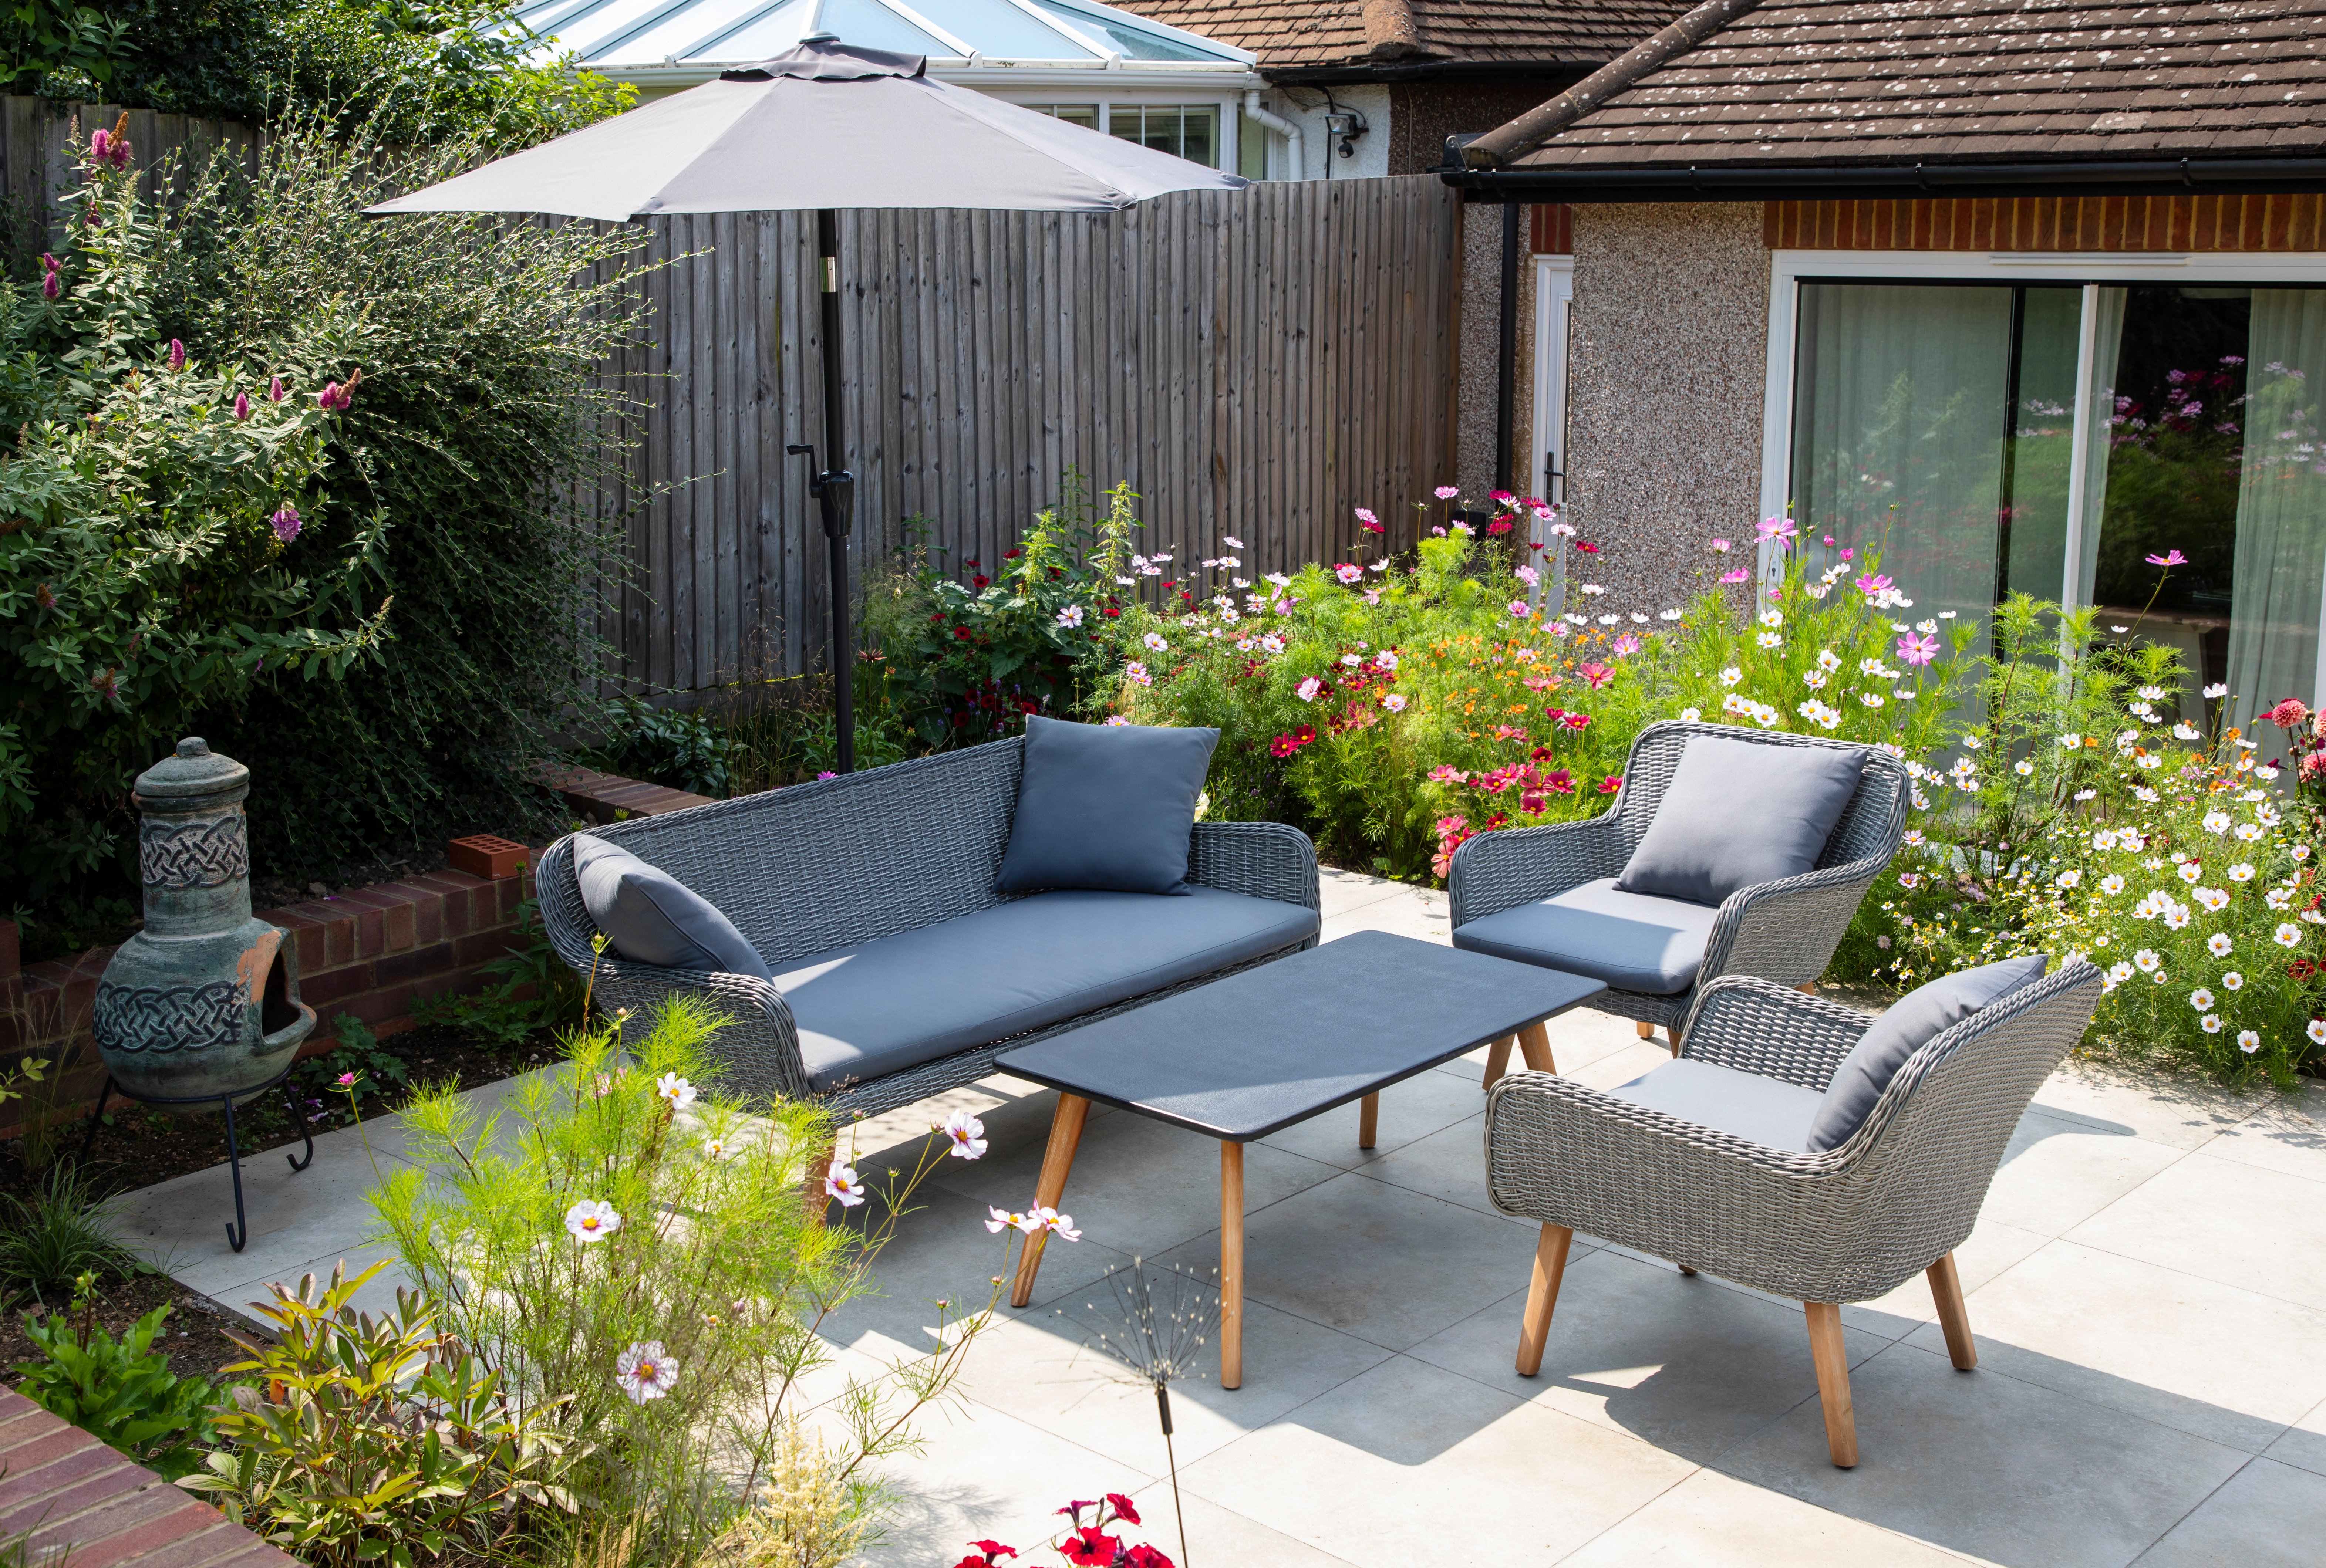
Ready to give your garden some style? Porcelain tiles offer an elegant look that can last in any weather condition. However, it’s important to get to know all about laying them first.
We’ll cover the following topics in this article
- Should I Get Porcelain Tiles for My Patio?
- How to Lay Porcelain Tiles Step-by-Step
- How to Choose the Right Tile Layout
- How to Seal Your Patio to Protect Against Weather
- Long-Term Care: Maintaining Your Porcelain Tile Patio
- Find Porcelain Tile Professionals Near You on MyBuilder
- Common Questions
Should I Get Porcelain Tiles for My Patio?
Porcelain tiles are an excellent choice for patios thanks to their durability, low maintenance, and stylish appearance. They are highly resistant to moisture, stains, and fading, making them suitable for different weather conditions. Here’s what to consider when deciding if they’re right for you:
Why choose porcelain tiles?:
Durable: Porcelain is dense, hard-wearing, and highly resistant to chips, scratches, and cracking. It’s built to handle heavy foot traffic and outdoor furniture well.
Weather Resistant: These tiles are great for the British climate; they don’t absorb much water, so they’re less likely to crack in freezing weather or become slippery after rain.
Low Maintenance: Porcelain doesn’t need sealing like real stone and is easy to clean. Most spills and dirt can be swept or washed away with minimal effort.
Stylish: Porcelain tiles are available in a wide variety of colours, finishes, and sizes.
Non-fade: High-quality porcelain tiles retain their colour and appearance for years, even with constant sun exposure.
If you’re after lots of design options, a consistent finish, and less ongoing hassle, porcelain is hard to beat. If you want to know more about prices, take a look at this tiling cost guide.
Chat to a porcelain tile professional
How to Lay Porcelain Tiles Step-by-Step: Your Full Guide

Step 1 – Gather Your Tools and Materials: Laying a porcelain patio successfully involves having the right tools and materials at hand. Ensure you have everything ready to streamline the process.
Below is a shopping list to help you get started:
- Tile spacers
- Trowels
- Tile adhesive
- Grout
- Tile cutter.
Step 2 – Prepare the Ground: First, clear the area of any debris, plants, or objects. Then, level the ground to make sure the tiles will sit evenly. Next, lay down compacted sand or gravel to form a strong base that can support the weight of heavy porcelain tiles.
Step 3 – Planning Your Tile Layout: Start by laying the tiles out dry on the surface where you want them to go. This helps you see the pattern you want, decide where cuts are needed, and spot any issues before fixing them in place.
Step 4 – Mix and Apply Adhesive: Start by checking the manufacturer's instructions on the adhesive packaging to find the correct water-to-adhesive ratio. Then, slowly add the adhesive to the water in a mixing bucket and stir.
Once it has rested for a little bit, use a notched trowel to spread the adhesive evenly across the surface, applying enough to properly support the porcelain tiles.
Step 5 – Lay the Porcelain Tiles When placing the tiles, start from the centre and work your way outwards to achieve a symmetrical layout. Don’t forget to regularly check that each tile is level with its neighbours using a spirit level. (You may also need to cut your tiles into the right size if your pattern requires it).
Step 6 – Grout your tiles: Once your tiles are securely in place, begin by mixing grout to the recommended consistency, ensuring it is neither too dry nor too runny. Apply the grout using a rubber float, spreading it diagonally across the tiles to fill the joints completely.
If any of these steps feel overwhelming or you want a consistent finish, you can easily connect with tiling professionals on MyBuilder, or take a look at how much it costs for professionals to lay a new patio beforehand.
MyBuilder Tip: Porcelain tiles require careful handling because they can chip or crack if mishandled, so patience and precision throughout installation are vital.
Find a landscaping professional today
Top Tips: How to Seal Your Patio to Protect Against Weather
Sealing your porcelain patio is important if you need it to be durable and last a long time. Unsealed tiles can absorb moisture, leading to damage. By applying a sealant, you protect the surface, maintaining its appearance and extending its lifespan. Top Sealing Tips:
- Select a high-quality sealant to ensure maximum protection.
- Apply the sealant evenly, following the manufacturer's instructions.
- Allow enough drying time after application, typically 24 hours, before stepping out onto the area.
MyBuilder Tip: Make sure your patio is as clean and dry as possible before starting the sealing process. If you need professional cleaning done before getting started, here’s a high pressure cleaning cost guide.
Long-Term Care: How to Maintain Your Porcelain Tile Patio
Caring for your porcelain tile patio is essential to keep it looking good and lasting longer. Clean it regularly by gently sweeping away dirt and debris, then mop using a mild detergent solution.
Most importantly, avoid harsh chemicals, as they can harm the tiles. Keep an eye out for loose tiles or any signs of wear, and take care of any issues promptly. Additionally, treat stains as soon as they appear to prevent them from setting in permanently.
Maintenance checklist:
- Sweep regularly to clear away dirt and debris.
- Mop with a gentle detergent to clean without damaging the tiles.
- Inspect for loose or damaged tiles and repair them promptly.
- Apply a sealant yearly to extend the life and appearance of your patio.
Looking for a beautiful patio? Find tile laying professionals on MyBuilder
You can find tile laying professionals near you, quickly and easily on MyBuilder. It only takes a few clicks to post your enquiry, then get your new patio project underway smoothly.
Post my patio job on MyBuilder
FAQ: Common Questions Readers Ask About Laying Outdoor Porcelain Tiles for a Patio
How do I prepare the ground before installing porcelain tiles on my patio?
Begin by excavating the patio area to a depth of around 150-200mm. Lay a sub-base of compacted hardcore (crushed stone or gravel), followed by a layer of sharp sand. Use a plate compactor after each layer to ensure a solid, level foundation. With all these steps done, you will feel properly prepared.
How do I ensure proper drainage when laying porcelain tiles for a patio?
Drainage is essential to prevent standing water. When preparing the foundation, create a slight slope, typically around 1:80, away from any buildings toward a drainage area or garden border. This gradient can be set during sub-base installation and maintained as you lay the tiles to help direct rainwater away efficiently.
How does the process of laying a porcelain patio differ from other tile types?
Porcelain tiles are less porous and heavier than many natural stones or ceramics, so they require stronger adhesives designed for porcelain and exterior conditions. Cutting porcelain tiles may also need specialised tools or blades. Porcelain’s dense, hard surface makes it more durable but can be more challenging to work with.
What thickness should outdoor porcelain tiles be for patio use?
For patios, it’s best to use porcelain tiles that are at least 20mm thick. This thickness offers enough strength to cope with outdoor weather and foot traffic. Always check the product specifications for suitability for external use.
What type of adhesive works best for outdoor porcelain tile installation?
Go for a high-quality, polymer-modified cement-based adhesive that’s rated for outdoor and porcelain tile use. This type of product provides a secure bond, is moisture resistant, and flexes with temperature changes to minimise cracking.
Related questions on Ask a tradesperson
See what others are asking our expert tradespeople. Browse all questions
Gardening & Landscaping
Newly laid patio was looking great then after grouting lots of stains have appeared 😔
Anonymous user 03/07/2026 - 3.51 PM
Hi all - we have just had a patio laid - Raj Indian Sandstone. It looked great when laid but after being grouted now has lots of marks A shadows around edges and also lots of speckled areas. The company Director has said it is just natural variation but I have photos from before grouting and there are none of these marks. Any suggestions of what they are and how to remove them? I have photos but can’t see how to add them to the question!
1 answer
Gardening & Landscaping
Grass
Anonymous user 29/06/2026 - 7.59 AM
I have tried several times to plant grass and ends up full of weeds even after tarpaulin being down for years! If I remove gravel and lay turf grass will it still end up full of weeds
6 answers
Gardening & Landscaping
Hire or Buy
Anonymous user 29/06/2026 - 7.58 AM
For a job of 120 1200x600x20mm porcelain tiles - that is due to take 3 weeks - should I hire or buy the wet saw cutter? Hoping to sell after
2 answers
Need expert advice?
Ask a questionDiscuss your job with tradespeople so they can accurately estimate the cost.